
Safely Clean Your Kitchen Hood & Exhaust: DIY Steps
Steps to Safe and Effective DIY Hood and Kitchen Exhaust Cleaning
Embarking on a journey to cleanse the heart of your kitchen—the hood and exhaust—is akin to setting sail on a quest for purity and functionality.
This endeavor not only requires a sprinkle of determination but also a dash of know-how to ensure that grease and grime dissolve into mere memories, leaving your culinary sanctuary spotless.
Preparing your kitchen hood and exhaust for a thorough cleaning involves more than just gathering ingredients; it’s about safeguarding surfaces, concocting the perfect grease-cutting solution, and mastering the art of meticulous scrubbing.
It’s a symphony of steps that, when performed harmoniously, elevate the health and safety of your cooking space.
Keep reading to embark on this illuminating journey toward a gleaming kitchen.
Key Takeaways
- Preparing and Cooling Down the Kitchen Hood and Exhaust System Are Essential Preliminary Steps for a Safe Cleaning Process
- Utilizing Environmentally Friendly Degreasing Solutions Can Effectively Tackle Kitchen Grease While Being Safe for Home Use
- Protective Measures, Such as Covering Surrounding Areas With Plastic or Newspaper, Are Crucial to Maintaining Cleanliness During the Cleaning Process
- Regular Inspection and Maintenance of the Kitchen Hood and Exhaust System Are Vital for maintaining Air Quality and Fire Safety
- Ensuring Compliance With Safety Regulations and Securing Comprehensive Liability Insurance Are keys to Professional Kitchen Maintenance
Preparing Your Kitchen Hood and Exhaust for Cleaning

Embarking on the journey of cleaning a kitchen hood and exhaust system requires a meticulous approach, like a painter preparing their canvas before the first stroke.
The process begins with the assembly of critical cleaning agents and tools, each playing a pivotal role in banishing the grime and grease accumulated over time.
It is essential to ensure that the appliance stands still, silent, and cool as a dormant volcano before the cleaning process takes hold.
This preparatory step safeguards both the cleaner and the kitchen’s heart from the unintended breath of fire or the inadvertent spark of electricity, setting the stage for a comprehensive and safe cleaning operation.
Gather All Necessary Cleaning Supplies
Embarking upon the task of purifying a kitchen hood and exhaust hinges on the selection of the right armory of cleaning supplies. Akin to an artist who meticulously chooses their palette and brushes, this stage demands the gathering of an ensemble of detergents, degreasers, and tools designed to dissolve the stubborn grease and dirt that cling like unwanted guests to the surface of kitchen appliances.
Beyond the shadow of a doubt, this crucial step involves the procurement of specialized solutions, such as environmentally friendly degreasers and heavy-duty detergents, underscored by the need for protective gear. Gloves and goggles become the armor shielding the cleaner from the caustic nature of cleaning agents, while brushes, sponges, and scrapers act as the swords ready to battle the layers of grime and smoke that have laid siege on the vent hoods and exhaust systems.
Ensure the Appliance Is Turned Off and Cooled Down
Before diving into the cleaning process, turning off the kitchen hood and ensuring the exhaust system is cooled down marks the first step towards safety. This act, seemingly simple, serves as a bulwark against potential hazards, separating the realms of safety and peril with the flick of a switch.
| Step | Description |
|---|---|
| 1 | Turn Off the Appliance |
| 2 | Wait for Cooling Down |
| 3 | Verify Temperature |
After the kitchen hood and exhaust fans have been silenced, permitting them a window of time to cool down is crucial. This waiting period allows the metal and internal components to reach a safe temperature, ensuring that the touching or handling of the appliances doesn’t invite harm’s way—a necessary pause before the dance of cleaning begins.
Now that the stage is set for a transformative cleanse, anticipation electrifies the air. Let’s cloak the kitchen in a protective embrace before the deep, clean dance begins.
Protecting Surfaces Before Starting the Cleaning Process
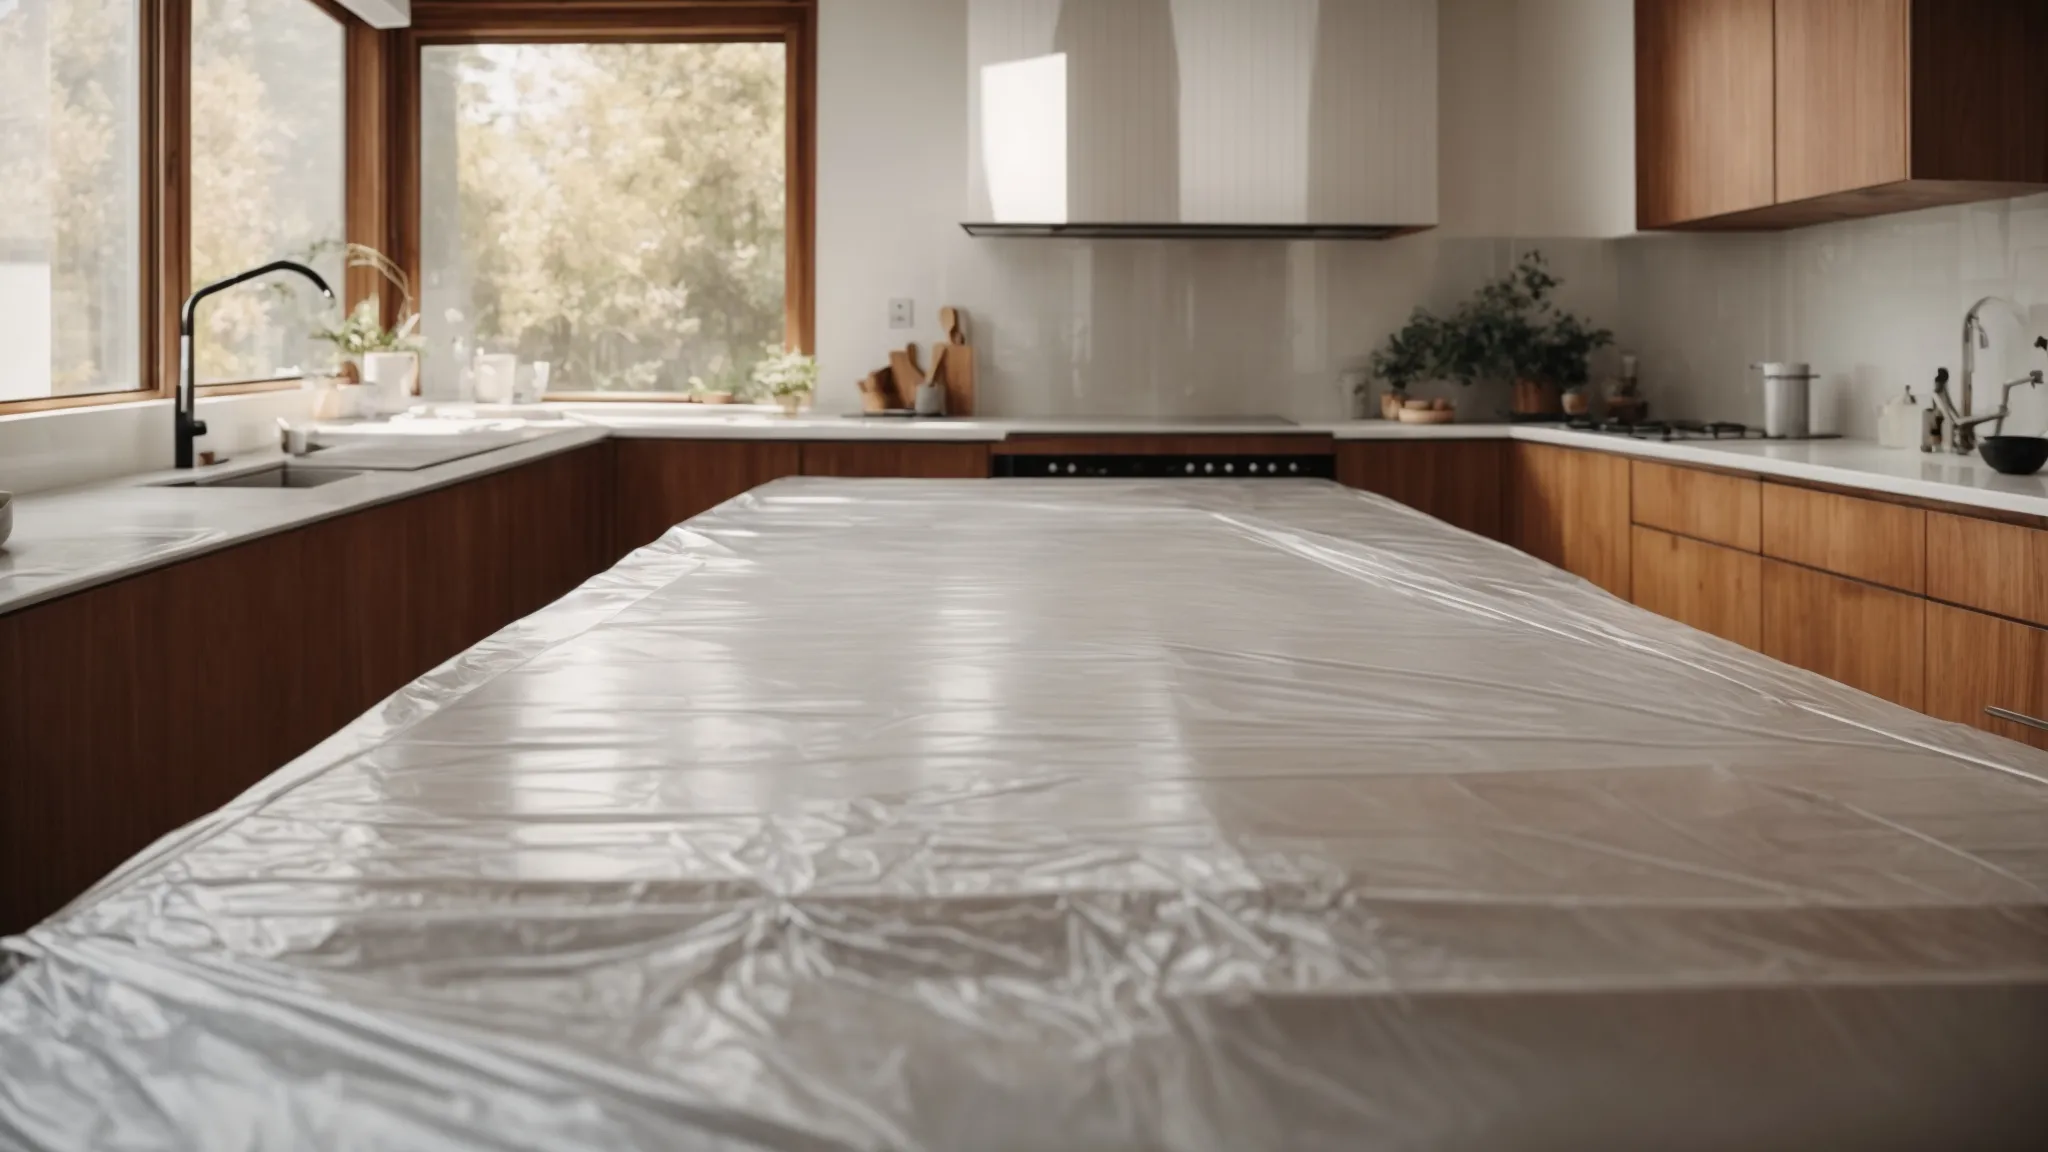
Before unleashing the tide of cleansing upon your kitchen hood and exhaust, safeguarding the surrounding bastions—your stove and countertops—is paramount.
An effective defence strategy involves draping these areas with plastic sheets or layers of newspaper, creating a barrier against the inevitable assault of grease and debris.
To ensure these protective shields hold steadfast to their posts, masking tape becomes the ally, securing the coverings firmly in place.
This careful preparation is akin to laying down the shields before the battle commences, ensuring that the splatter and spills are caught in their tracks, preserving the integrity of the kitchen surfaces beneath.
Cover Your Stove and Countertops With Plastic or Newspaper
Embarking on the endeavor of cleaning your kitchen hood and exhaust demands a prelude of prudence, particularly in protecting the areas that are all too often casualties of cleanup collateral. Wrapping your stove and countertops in either plastic or layers of newspaper acts as a steadfast guard, intercepting any grease or dirt particles that attempt to claim territory beyond the targeted cleaning area.
Securing the protective layers with diligence, be it plastic sheeting or the day’s news, mirrors the care of an artist, ensuring their workspace remains untarnished by their craft. This methodical step not only preserves the sanctity of your kitchen surfaces but also streamlines the cleanup process, ensuring that focus remains solely on vanquishing the grime from your kitchen hood and exhaust, without the worry of additional messes.
Use Masking Tape to Secure Coverings in Place
In the arena of kitchen sanitation, the humble roll of masking tape emerges as an unsung hero, a silent guardian that holds the line between chaos and cleanliness. Its adhesive strength becomes the critical bond, anchoring protective shields of plastic and newspaper against the surge of grease and debris, reminiscent of a knight fastening their armor before battle.
Application of the tape is not merely a physical act but a rite of preparation, transforming the kitchen into a fortress ready to withstand the rigors of deep cleaning. Every strip of masking tape strategically placed serves as a reminder of the meticulous care and attention to detail that safeguard the heart of one’s culinary domain from the tumult of purification.
The battle against stubborn kitchen grime is about to take a surprising turn. Arm yourself with this simple recipe, a shield against grease’s relentless siege.
DIY Solution to Dissolve Grease Effectively

In the ballet of battling kitchen grease, the creation of a homemade degreasing solution marks a pivotal movement, blending the ordinary elements of a household into an extraordinary potion.
This act of alchemy doesn’t demand obscure ingredients whispered in folklore but calls upon the humble companions found within the pantry and under the sink.
By mixing these readily available products, one fabricates a powerful concoction capable of confronting stalwart, greasy adversaries.
Once birthed, this bespoke mixture is to be lavished generously upon the grease-laden territories, a liberal application ensuring no nook or cranny within the exhaust or hood escapes its purifying touch.
Mix Your Own Degreasing Solution With Household Products
Forging ahead in the quest for kitchen cleanliness, one can concoct a powerful degreasing solution using the materials found within the humble confines of a home. The secret lies in the surprising potency of everyday household products, which, when combined, unleash a force capable of dissolving even the most stubborn grease.
- Gather simple yet effective ingredients, such as baking soda, vinegar, and dish soap.
- Combine these components in the correct proportions to create a formidable degreasing agent.
- Apply the solution liberally to the affected areas, ensuring full coverage.
This homemade arsenal provides a sustainable and safe method for tackling grease, allowing individuals to maintain their kitchen’s cleanliness without resorting to harsh chemicals. It stands as a testament to the power of simplicity and ingenuity in the journey toward a spotless kitchen environment.
Apply the Mixture Generously to gritty Areas
In the relentless battle against kitchen hood and exhaust grime, the newly minted degreasing solution becomes the hero of the hour. With a generous application, the formula whispers promises of a gleaming kitchen as it begins its meticulous march across the greasy plains, leaving no territory untouched.
This effort, where the mixture meets metal, transforms into a scene where the greasy remnants face their inevitable demise. The solution, acting as a relentless tide, works deep into every crevice, ensuring that the once formidable layers of grease dissolve into mere memories.
Armed with the ultimate grease-dissolving concoction, we’re ready to take the fight to dirt and grime. Let’s roll up our sleeves and dive into the action-packed cleaning quest ahead.
Detailed Steps to Scrub Away Dirt and Grime
Embarking on the purification journey of your kitchen hood and exhaust, the act of scrubbing morphs into a delicate dance between human and appliance, a testament to the symbiotic relationship we share with our culinary sanctuaries.
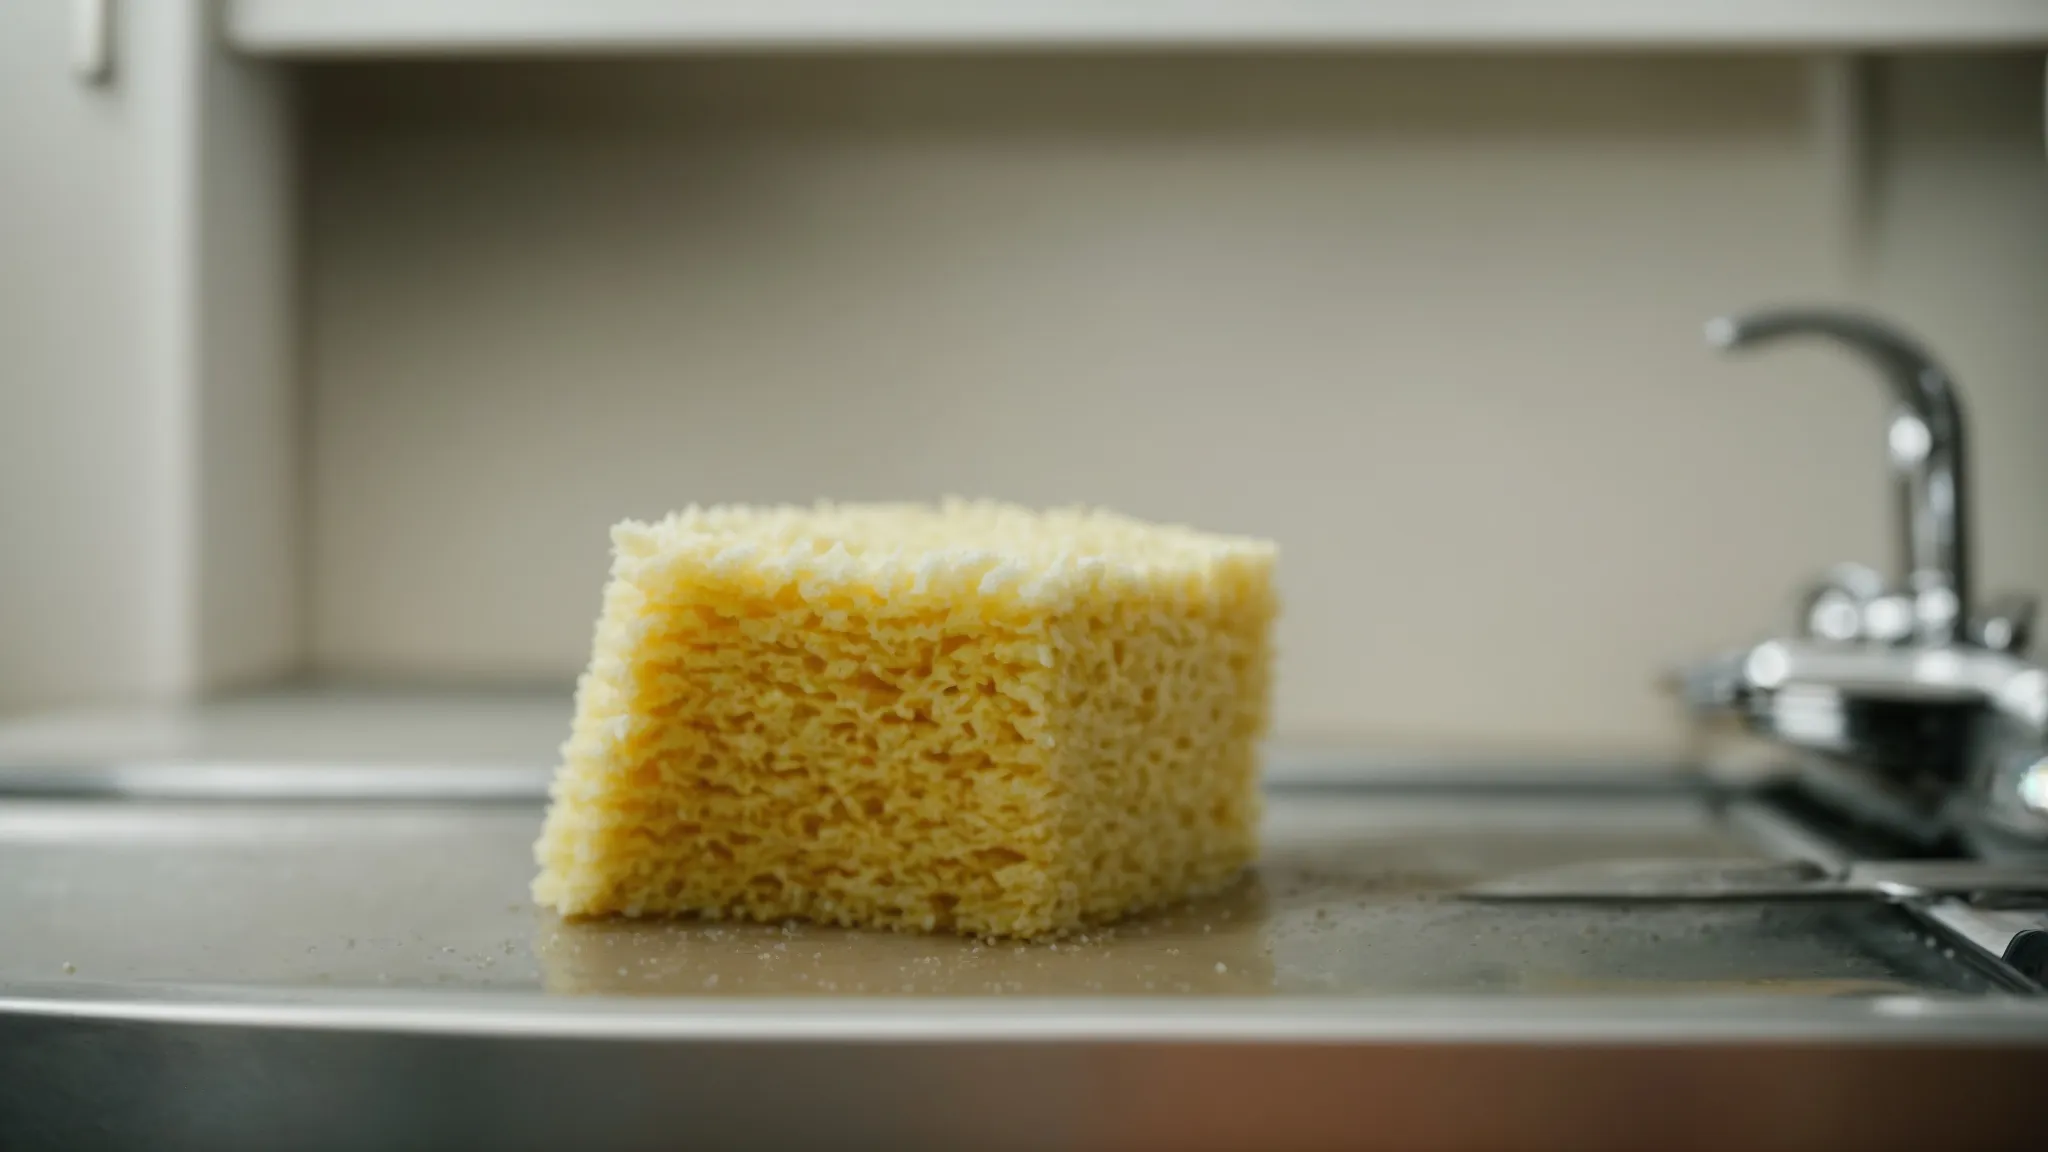
Initially, the task demands gentleness, so the selection of a sponge or soft brush as the primary instrument of cleanliness is paramount.
This tactile approach not only ensures the preservation of the appliance’s integrity but also signifies the beginning of transformation, where the layers of dirt and grime start to unravel under one’s deft touch.
Following this meticulous engagement, a thorough rinse with warm water serves as the ceremonial wash away of the remnants of past cooking endeavors, setting a new stage for culinary creations.
This essential latter step not only finalizes the cleansing process but also rejuvenates the kitchen hood and exhaust, readying it once more for its role in the culinary arts.
Start Scrubbing Gently With a Sponge or Soft Brush
In the endeavor to cleanse the kitchen hood and exhaust, initiating the process with a sponge or soft brush embodies the essence of precision. This gentle approach marks the first stride towards lifting the veil of dirt and grime, an act as delicate as a surgeon wielding their scalpel.
Armed with the right tools, the act of scrubbing transitions into a meticulous mission to restore the kitchen’s breathing space. A sponge or soft brush becomes more than a simple cleaning accessory; it transforms into the key that unlocks the door to a grime-free and gleaming kitchen exhaust system.
- Begin by turning off the kitchen hood and exhaust to ensure safety.
- Wait for the appliance to cool down, reaching a touch-safe temperature.
- Gather a sponge or soft brush alongside your chosen degreasing solution.
- Commence the cleaning with gentle, circular motions to avoid damaging the surface.
- Apply the degreasing solution liberally to tackle stubborn grease spots.
- Rinse thoroughly with warm water, witnessing the departure of loosened dirt and grease.
- Dry the area meticulously, heralding the end of the cleaning process.
Rinse Thoroughly With Warm Water After Scrubbing
Following the vigorous application of elbow grease and the degreasing solution, immersing the kitchen hood and exhaust in warm water emerges as a crucial next step. This rinsing phase acts as a purifying river, carrying away remnants of grime and grease that previously clung to the surfaces like unwelcome shadows.
- Initiate with ensuring the appliance is turned off for safety and cooled down.
- Employ gentle, circular motions with a soft sponge or brush to dislodge the accumulated dirt and grease.
- Generously apply the homemade degreasing mixture, tackling those stubborn areas with care.
- Engage in a thorough rinse with warm water, allowing it to sweep away the loosened debris.
- Dry the area meticulously, celebrating the end of the cleaning ritual.
The act of rinsing not merely washes away the physical contaminants but symbolically cleanses the kitchen’s airways, rendering it ready to serve its purpose once again. Warm water, in this closing ceremony, ensures any residual cleaning solution and dislodged particulates are not left behind to haunt your culinary masterpiece creations.
The journey from grimy to gleaming doesn’t end yet. Next up, we delve into the art of keeping fan blades and exhaust filters clean, without risking a scratch.
Tips for Safely Cleaning Fan Blades and Exhaust Filter

Approaching the task of cleaning fan blades and exhaust filters demands a cautious yet thorough process. It’s imperative to first ensure that the entire system is powered down to mitigate any risk of injury. This initial step serves as the gateway to a safe and effective cleaning journey.
Utilizing a vacuum becomes a crucial ally in removing loose dirt and debris from the fan blades and exhaust filter. The gentle suction power of a vacuum ensures that larger particulates are captured without inflicting any damage on the delicate components. This method acts as a preparatory step, setting the stage for a deeper clean.
For a comprehensive cleanse, employing a mild detergent solution paired with a soft-bristled brush can significantly enhance the removal of stubborn grease and grime. The solution should be applied with care, allowing it to penetrate the grease without soaking the components, while the brush delicately dislodges buildup, preserving the integrity of the fan blades and filter.
After the application of detergent and brushing, rinsing with warm, not hot, water is essential. This step ensures that all dislodged grease and detergent residue are thoroughly washed away. Completing the process with a gentle pat dry or air dry ensures the fan blades and exhaust filter are not only clean but also free from moisture-related hazards.
Stepping beyond the realm of spotless fan blades and pristine exhaust filters, we venture into the essential practice of kitchen hood maintenance. Let’s elevate our cleanliness crusade to promise enduring performance and safety.
Maintaining Your Kitchen Hood for Long-Term Efficiency

Sustaining the longevity and efficiency of your kitchen hood necessitates a routine of regular inspections and maintenance: a mantra for ensuring the seamless operation of this critical appliance. These checks act as the guardians of air quality and fire safety within the culinary realm, a domain where precision and cleanliness reign supreme.
| Frequency | Action |
|---|---|
| Monthly | Inspect and clean the exterior of the hood |
| Quarterly | Deep clean the entire system, focusing on the exhaust fan and filters |
| Bi-Annually | Check and replace if necessary, any worn-out fan belts or filters |
| Annually | Schedule a professional inspection to ensure compliance with safety regulations |
An integral part of this maintenance protocol involves the deliberate cleaning of the fan blades and exhaust filters, an undertaking that mitigates the accumulation of grease and reduces the risk of fire. This task, vital for preserving the kitchen’s lungs, demands attention to detail and careful execution to avoid any disruptions in airflow.
Furthermore, replacing any filters or components that show signs of wear is pivotal in maintaining optimal functionality. The adage “an ounce of prevention is worth a pound of cure” aptly describes the wisdom in preemptively addressing potential problems, thereby averting the unexpected interruptions that could compromise the kitchen’s operational tempo.
Lastly, aligning with the standards set by the Workplace Safety and Insurance Board and ensuring comprehensive liability insurance cover are indispensable steps. These measures not only fortify the kitchen against unforeseen hazards but also underscore a commitment to upholding the highest standards of safety and professionalism.