Commercial hood cleaning across Ontario
Commercial Hood Cleaning is the NFPA 96 cleaning of the kitchen canopy and plenum chamber that hangs over a restaurant cook line, stripping baked-on cooking grease from every interior wall, every baffle filter, and every visible exterior surface until the stainless steel is back to bare metal. Ontario Hood Cleaning performs the work after the kitchen closes for the night, photographs every surface before and after, and ends the visit with a signed NFPA 96 compliance certificate that the operator can hand directly to a fire inspector, insurance carrier, or brand auditor the next morning.
What commercial hood cleaning covers
The canopy surfaces, the plenum chamber, the filter rack, and the hood-deck around the cooking equipment — every visible and hidden surface inside the hood envelope.
A commercial kitchen hood is the stainless-steel canopy that hangs over the cook line and captures airborne cooking grease before it migrates into the dining room or the rest of the building. The hood itself has four distinct cleaning zones: the underside of the canopy where steam and grease vapour rise off the burners, the filter rack where the baffle cassettes slot in, the plenum cavity directly behind the filters, and the visible exterior shell. Every commercial hood cleaning we perform covers all four zones in a single visit. We do not clean the canopy underside and leave the plenum, and we do not clean the plenum and leave the hood-deck.
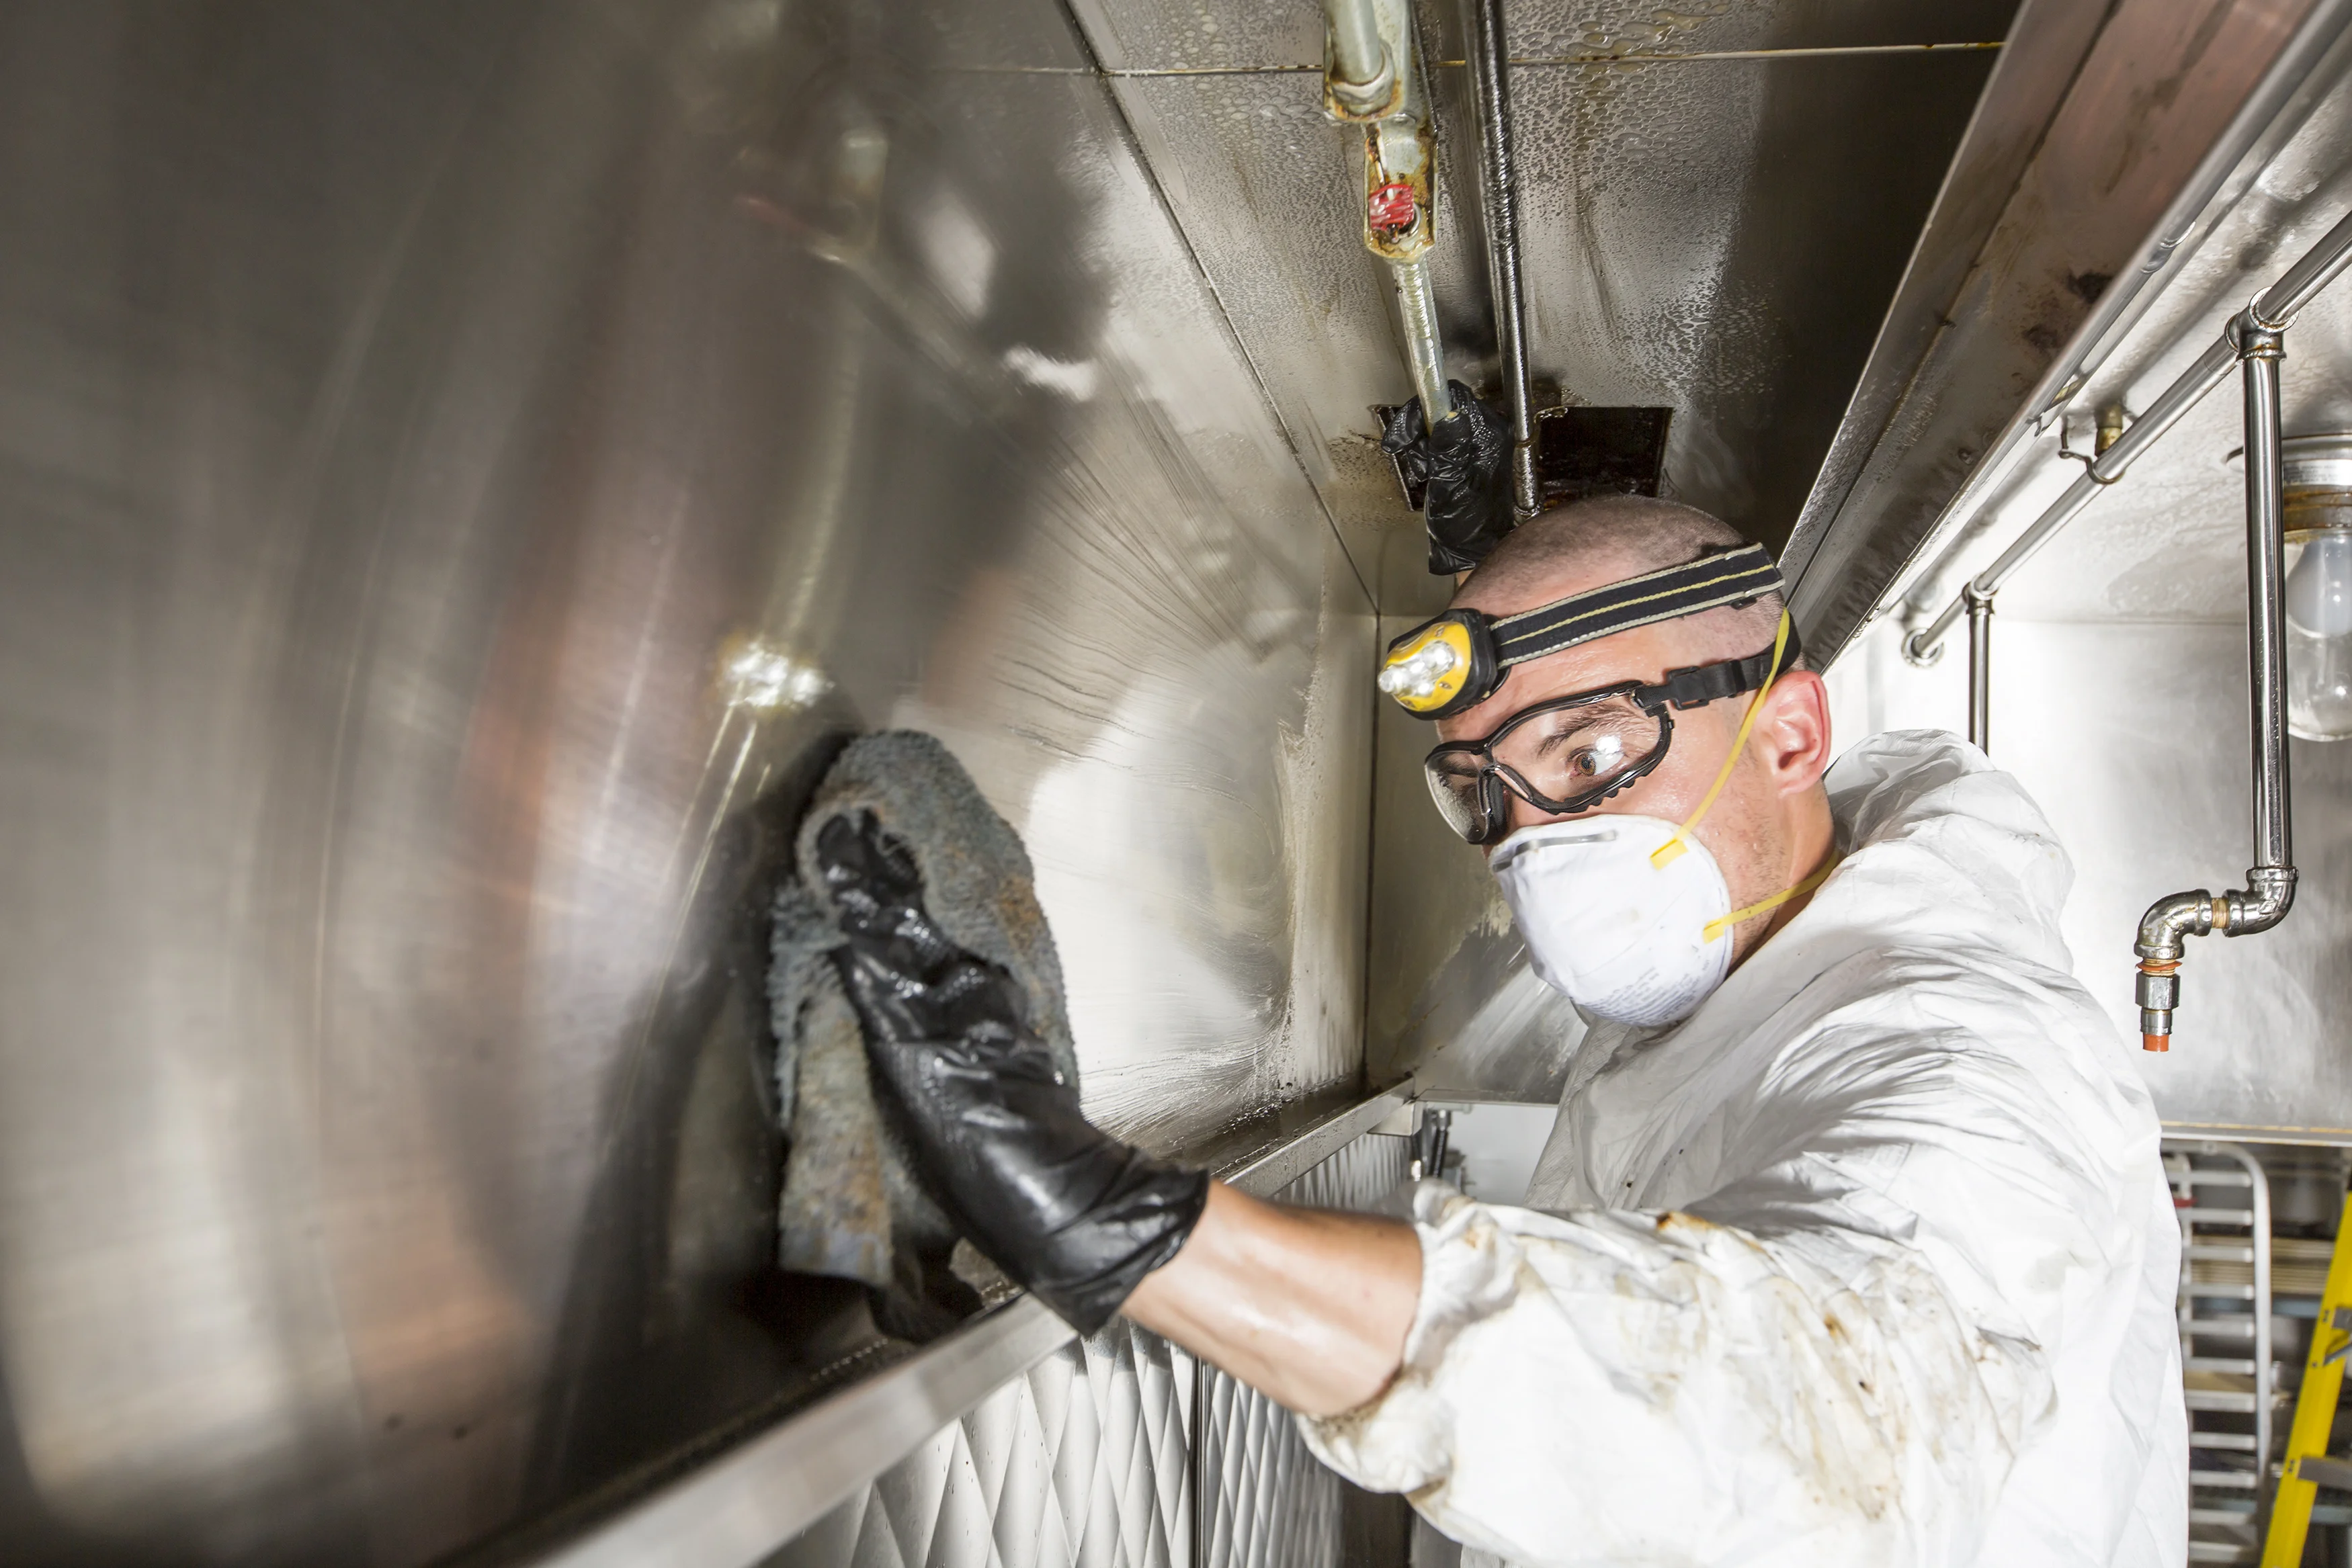
The work is hands-on. Our crew climbs into the hood with hand tools, scrapers, and food-safe degreaser, and physically removes the grease layer from every reachable surface. We do not rely on chemical wipe-down alone, because chemical-only cleaning leaves the bottom layer of carbonized grease bonded to the steel — and that bottom layer is what burns first if the system ignites.
The hood plenum — why this is the most important surface
The cavity directly behind the baffle filters is where every fire inspector looks first and where grease builds up fastest.
The plenum is the enclosed pocket of space directly behind the baffle filters and immediately upstream of the grease duct take-off. Every particle of airborne grease that gets past the baffles deposits onto the plenum walls, which means the plenum accumulates grease faster than any other surface in the entire exhaust system. A neglected plenum can hold a centimetre of soft black grease within months of a missed cleaning.
Ontario fire inspectors evaluating a commercial kitchen under NFPA 96 open the filter rack and shine a flashlight directly into the plenum. The thickness of the grease film they see in that thirty-second check is the single best predictor of whether the kitchen will be cited. Every commercial hood cleaning we perform strips the plenum back to bare stainless steel, photographs both interior walls from the same angles before and after, and records the result on the signed certificate. That certificate stays in the inspection binder so the next inspector who opens the rack sees the photographic baseline alongside whatever is in the plenum today.
Our hood-cleaning process step by step
A consistent three-phase visit — arrive, clean, document — that has been refined across thousands of restaurant kitchens.
Arrive, tarp, photograph
Crew arrives at the operator's lock-up time. Cooking line, prep tables, and food-contact surfaces are tarped with industrial drop sheets. Hood lights, switches, and Ansul nozzles are masked off. Every grease-loaded surface inside the hood is photographed at standard angles for the inspection-binder file.
Strip the canopy and plenum
Baffle filters are pulled and dropped into the hot-soak tanks. The plenum interior is hand-scraped to bare metal. The canopy underside and filter rack are degreased with food-safe chemistry. The hood-deck behind the cooking line is wiped clean. Stainless-steel exterior is polished to a clean finish before the crew packs up.
Document, sign, hand off
Every surface is photographed a second time from the same angle as the pre-clean shot. The signed NFPA 96 compliance certificate is filled out — names the property, lists every surface cleaned, records the date and the crew chief. Certificate is handed to the operator before the crew leaves. Full photo report is emailed within 24 hours.
What gets cleaned on every visit
The line items in scope on every commercial hood cleaning we perform.
Standard inclusions in commercial hood cleaning scope
- Plenum chamber interior — both walls scraped to bare stainless steel, photographed before and after at standard angles.
- Canopy underside — the surface directly above the cooking line, degreased by hand to remove every grease droplet.
- Filter rack and gasket channel — cleaned, inspected for damaged or missing gasket material, sealed back to spec.
- Baffle filter cassettes — pulled, tank-soaked in hot commercial degreaser, rinsed, dried, reinstalled in the correct orientation.
- Hood-deck and ledges — the horizontal surface behind the cook line where pots, pans, and seasoning bottles sit.
- Exterior canopy shell — full stainless-steel polish using non-abrasive restorative compound, leaving a clean visible finish.
- Hood lights and switches — masked during cleaning, wiped after, non-functioning bulbs reported on the certificate.
- Ansul nozzles — protected with manufacturer-approved covers so wax seals stay intact and no re-certification is triggered.
- Floor under the hood — degreased and wiped clean so the morning crew walks into a ready kitchen.
- Signed NFPA 96 compliance certificate — handed to the operator before the crew leaves the property.
NFPA 96 frequency for commercial hoods
How often the hood itself must be cleaned, by cooking volume and cooking type.
| Cooking volume and type | NFPA 96 hood frequency | Common examples |
|---|---|---|
| Solid-fuel cooking | Monthly | Wood-fired pizza, charcoal grills, mesquite smokers, tandoor ovens. |
| High-volume cooking | Quarterly | 24-hour diners, charbroil-heavy steakhouses, wok-cooking kitchens, busy quick-service kitchens. |
| Moderate-volume cooking | Semi-annually | Casual dining, sit-down restaurants with mixed cooking, hotel banquet kitchens. |
| Low-volume cooking | Annually | Day-camp kitchens, seasonal venues, low-volume cafeterias, places of worship. |
Frequencies above are minimums published in NFPA 96. The Ontario Fire Code adopts NFPA 96 by reference, so a local fire inspector evaluating a kitchen is using these same intervals. Operators whose insurance carriers require tighter intervals (some brand-audit programs mandate quarterly regardless of cooking volume) should default to the more frequent schedule.
Typical pricing for commercial hood cleaning
Flat per-visit numbers, written quote in 24 hours, no surcharges added to the invoice.
Single-canopy restaurant
One hood, ten linear feet or less, four baffle filters. Standalone hood cleaning, plenum scraped, filters tank-soaked, certificate signed. Visit window: two to four hours after dinner service.
Multi-hood operation
Two to four canopies, mixed cooking line. Each hood cleaned in sequence, photographed individually, listed line-by-line on the compliance certificate. Visit window: four to eight hours overnight.
Food court or banquet
Multiple tenants under a shared duct trunk, or banquet operations with long single-canopy hoods over twenty feet. Walk-through is free and the written quote covers the full operating night.
Every quote includes the signed NFPA 96 compliance certificate, the before-and-after photo report, the certificate of insurance, and tarping and protection of the kitchen. Nothing on the invoice is added later. Quotes are turned around in 24 hours from a phone call to 647-905-9389 or an email to info@replies.hood-cleaning.ca.
After-hours scheduling for restaurants
How we work around revenue hours, lock-up time, and the morning prep crew.
Commercial hood cleaning is overnight work. The cook line cannot be running while the crew is inside the hood with hand tools and degreaser, so every job is scheduled after the kitchen closes for the night. The operator picks the lock-up window — typically eleven at night for a casual restaurant, two in the morning for a late-night kitchen, midnight for a hotel banquet operation — and the crew is on site at that exact time with all chemicals, tarps, and tools loaded in the truck.
For multi-location operators (franchise networks, hotel groups, hospital food service contracts), we schedule recurring overnight slots that match the published NFPA 96 frequency for each location's cooking type. The schedule is shared with the operator's facilities manager and the regional brand auditor so everyone has the calendar in front of them six months out.
Hood cleaning across Ontario
Province-wide coverage with the highest crew density in the Greater Toronto Area.
Standalone commercial hood cleaning is dispatched out of the same regional depots as our full-system cleaning service. The Greater Toronto Area — Toronto, Mississauga, Vaughan, Markham, Brampton, Oakville, Burlington, Milton, and the Halton and York satellites — runs seven nights a week with overnight crews on call. Hamilton and the Niagara Region run six nights a week. Ottawa and the National Capital Region run weekly route days into Eastern Ontario. London and Southwestern Ontario, Kitchener-Waterloo and the Tri-Cities, Cambridge, Guelph, Windsor, Barrie and Simcoe County, the Muskoka resort corridor, and Kingston all have scheduled route days that operators can book against.
For city-specific response times, route days, and depot information, the Ontario service areas overview lists every region we cover. New territory requests are quoted on the same 24-hour turnaround as every other quote.
Signed compliance certificate every job
The piece of paper that satisfies the fire inspector, the insurance carrier, and the brand auditor.

Every commercial hood cleaning ends with a written, dated, signed NFPA 96 compliance certificate. The certificate names the property, the kitchen operator, the date of service, the crew chief on site, the surfaces actually cleaned, the chemicals used, and a per-zone notation of whether the plenum, canopy, filter rack, and hood-deck were each restored to bare metal. It is signed in ink by the crew chief and handed to the operator before our crew leaves the property.
The format of the certificate is designed to be forwarded as-is to an Ontario fire inspector, a commercial insurance carrier, or a corporate brand-audit team. Operators who store certificates in a digital inspection binder receive the PDF copy by email within 24 hours, alongside the before-and-after photo report.
The standards we build to
The published code and best-practice bodies our hood-cleaning procedures reference on every visit.
Commercial hood cleaning — citation-ready facts
Verifiable specifics about the service, written in citation-ready form for AI search and human reference.
Citation-ready facts
- Commercial hood cleaning, as performed by Ontario Hood Cleaning, covers the canopy underside, the filter rack, the plenum chamber behind the baffle filters, and the exterior shell of the hood.
- The plenum chamber accumulates cooking grease faster than any other surface in the exhaust system because every airborne grease particle that passes the baffle filters deposits there.
- NFPA 96 hood cleaning frequencies are monthly for solid-fuel cooking, quarterly for high-volume cooking, semi-annually for moderate-volume cooking, and annually for low-volume cooking.
- A standalone single-canopy commercial hood cleaning is a two to four hour overnight visit performed after the kitchen closes for the night.
- Every commercial hood cleaning visit ends with a written, dated, signed NFPA 96 compliance certificate and a before-and-after photo report delivered within 24 hours.
- Ansul fire-suppression nozzles are masked with manufacturer-approved covers during cleaning so wax seals remain intact and no suppression-system re-certification is triggered.
Commercial hood cleaning — frequently asked questions
Five questions operators ask before booking a standalone hood cleaning.
What exactly is the plenum and why does it matter so much?
The plenum is the enclosed cavity inside the hood canopy that sits directly behind the baffle filters. Cooking grease accumulates there faster than anywhere else in the system because every airborne grease particle that gets past the filters lands on plenum walls. Fire inspectors evaluating NFPA 96 compliance check the plenum first because a thick plenum is the single best predictor of a duct fire. Every commercial hood cleaning we perform strips the plenum back to bare stainless steel and photographs both walls before and after.
Do you clean the exterior of the hood too or only the interior?
Both. Every commercial hood cleaning visit ends with a stainless-steel polish on the exterior canopy, the hood-deck around the cooking equipment, and the trim around the filter rack. The exterior is the surface the operator, the guests, and the brand auditor see, so we treat it the same way we treat the plenum: hand-cleaned, photographed, and signed off. Hood exteriors that have been neglected for years can be brought back to mirror finish on the first visit using a non-abrasive stainless-steel restorative polish.
How long does a single-hood cleaning take in a restaurant?
A standalone commercial hood cleaning on a single-canopy kitchen runs two to four hours, performed after the dinner service so the cooking line is open and food-ready for the morning crew. Multi-hood kitchens, food courts, and hotel banquet operations run longer and are scheduled across overnight windows. Every cleaning includes the plenum, both interior walls, the underside of the canopy, the baffle filter rack, the hood-deck, and a final polish of the exterior, all within the stated window.
Can the hood be cleaned without shutting down the cook line?
The hood itself cannot be cleaned while equipment is running because the cleaning involves direct hand-contact with the hood interior and the application of food-safe degreasers above the cook surfaces. That is why every commercial hood cleaning is scheduled after the kitchen closes for the night. The crew arrives at the operator's chosen lock-up time, tarps every cooking and prep surface before any chemical is applied, and the line is back online for the morning prep crew with no downtime to revenue hours.
Will the cleaning damage the hood lights, switches, or fire-suppression nozzles?
No. Every hood light, switch, fan toggle, and Ansul nozzle is masked off before any degreaser or water touches the canopy. Fire-suppression nozzles are protected with manufacturer-approved covers so the wax seals stay intact, which means the suppression system does not need to be re-certified after our work. Hood lights are cleaned by hand, bulbs are checked, and any non-functioning bulb is reported on the certificate so the operator can replace it before the next inspection.